Road Marking Paint and Machine Manufacturer
+86-15668659958
Road Marking Paint and Machine Manufacturer
+86-15668659958
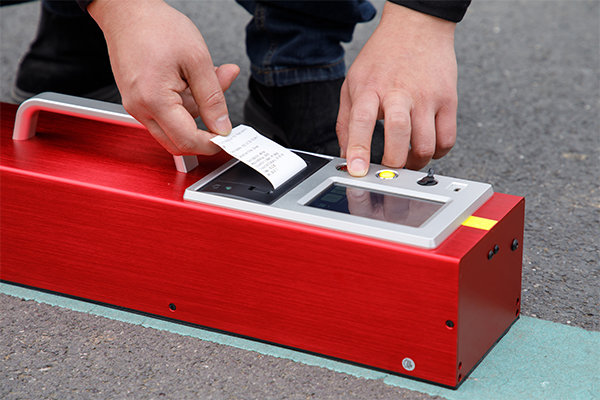
The brightness of reflective markings is expressed internationally as the coefficient of retroreflection, in units of mcd/lx/m2. Its physical meaning is the brightness value generated per unit area under unit lighting conditions. Place the instrument above the measured line, which displays the value of the reflection coefficient in digital form, reflecting the objective evaluation of the driver’s reflection brightness of the line under driving conditions.
Features:
Technical indicators:
Measurement range: 0-1999 (unit: cd/lx/㎡)
Uncertainty:<5%
Observation angle: 1.05 °
Incident angle: 88.76 °
Light source color temperature: A Light source color temperature 2856K
Receiver: V; correction
Applicable ambient temperature: -20 °~50 °
Continuous working time of 10 hours for a single charge
Relative humidity 80%
External dimensions 780 x 420 x 180 (unit: mm)
Weight 18Kg
Method of use for the retroreflective coefficient tester for reflective markings
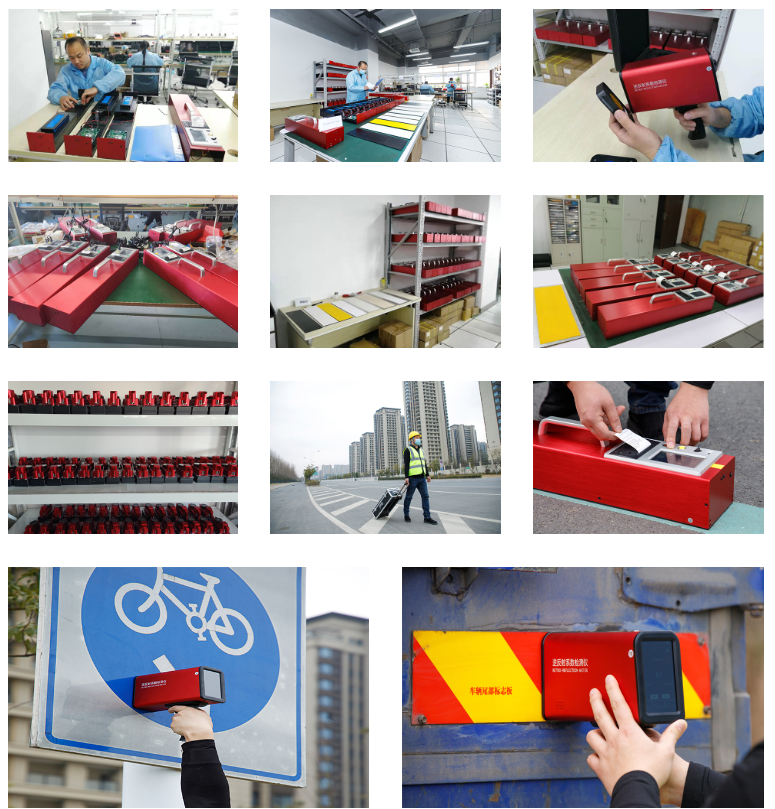
Configuration:
One measuring host; One charger; A set of standard boards; One calibration certificate; One verification certificate; One user manual
1、 Operation steps
2、 Notes:
Method of use for the retroreflective coefficient tester for reflective markings,
Our company is a professional manufacturer of road hot-melt coatings, road retroreflective measuring instruments, and road marking machines. If you are interested, please feel free to communicate with me via email at any time export@toproadtraffic.com


